There's a real satisfaction in building something permanent on your own land. Something solid, professional, and built to last. And with a MAXXUS yard, that satisfaction doesn't have to come with a contractor's invoice attached.
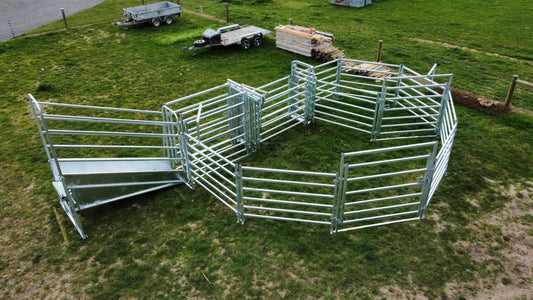
The MAXXUS range was designed for lifestyle blocks and smaller operations. It's modular, it's hot-dip galvanised, and it goes together in a logical sequence that you can manage with minimal tools and a capable offsider. But like any build, the difference between a yard that works and a yard you're constantly fiddling with usually comes down to getting the basics right before the first panel goes in.
This guide walks you through exactly how to build a MAXXUS 35 Head Yard, from checking your parts off the assembly plan to driving the final ground spikes. We'll cover site preparation, the correct build sequence, safety features to understand as you go, and a few things that will save you time and frustration along the way.
Start With Your Site, Not Your Panels
The most common mistake farmers make when building a modular yard isn't in the assembly. It's in the ground preparation.
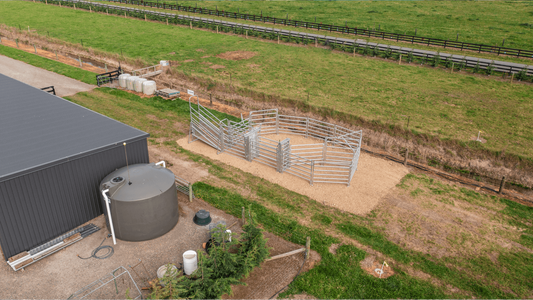
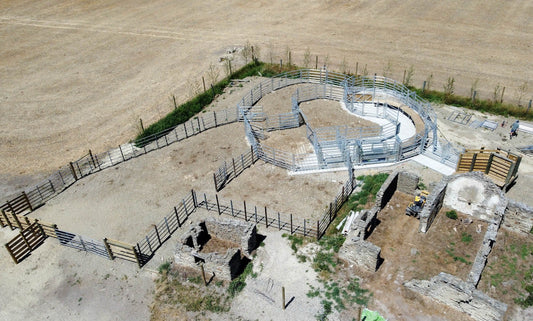
Before you lay a single panel down, your pad needs to be level, well-compacted, and properly drained. A rotten rock pad works well for MAXXUS yards because the ground spikes anchor directly into it, but it needs to be rolled before you start. A soft or uneven surface will cause headaches from the first connection point onwards, and no amount of adjusting panels will fix a base that isn't ready.
Drainage matters here too. Cattle yards sit in wet ground repeatedly. A pad that pools water isn't just inconvenient; it undermines long-term stability and creates a mess every time you work the yard. Get this right first, and the rest of the build is straightforward.
Step 1: Verify Your Parts
Once your pad is ready, don't rush to start connecting panels. Pull everything out and work through the assembly plan first.
The MAXXUS 35 Head Yard ships with a colour-coded assembly plan where each label on the plan corresponds to a label on the component. This isn't just helpful, it's how you build efficiently. Spend ten minutes matching components to the plan before assembly begins and you'll avoid the frustrating experience of getting three-quarters through a build and realising a panel is in the wrong place.
For the 35 Head Yard, you're working with:
- Three 1.8m panels
- Two 2.1m x 1.5m panels
- Eight 2.1m x 1.8m panels
- Two 2.1m drafting gates (one left-handed, one right-handed)
- An entry gate (2.1m)
- A sliding gate with auxiliary handle
- A man gate (1.2m)
- A walk-through head bail with ratchet locking
- A loading ramp with hardwood surface
- A race bow, catwalk, overhead braces, and ground spikes
Get everything laid out and accounted for before you start. It takes a few minutes, and it's worth every one of them.
Step 2: Mark Your A and B Points
This step is where precision matters most. Everything else in the build flows from your A and B foundation points, so taking the time to get these right saves you a lot of correction work later.
Your A and B points mark where the loading ramp connects to the yard. They sit 0.8 metres apart at the base of the ramp, with your five coordinate points measured out 3 metres from the ramp base using triangulation. Use two measuring tapes to run the measurements and mark each point with dazzle spray. These points indicate exactly where panels and gates need to intersect.
It's a straightforward process once you understand what you're doing. The A and B points are your anchor, and the yard builds backward from there.
Step 3: Assemble the Loading Ramp First
The loading ramp is the heaviest component in the yard, and it goes in first. This isn't just about logistics; it's because the ramp determines the position of every other component in the build.
The MAXXUS loading ramp is height-adjustable across seven settings, ranging from 0.5 metres to 1.2 metres. That range covers car trailers, utes, and full stock trucks, which makes this a genuinely versatile piece of gear for lifestyle blocks that deal with varied transport. The ramp surface is hardwood rather than steel, which provides better grip and reduces the risk of stock slipping during loading.
A couple of practical notes here. The ramp is rated to one tonne at centre weight, and it requires two people to lift and position. Don't attempt it solo. The rail spacing is also tighter than standard, which is worth noting if you're running calves or sheep through the same yard, as it keeps young stock from getting their legs caught.
Step 4: Install Drafting Gates and Work Backward From the Ramp
With the ramp positioned, install the drafting gates adjacent to it. The two 2.1m drafting gates (left and right-handed) sit either side of the race and allow you to sort cattle into or out of the yard without having to physically intervene. They're a practical feature for anyone working the yard with limited help.
From the drafting gates, you progressively connect panels, working backward from the ramp toward the holding area. At connection points where multiple components meet, you'll use clamp-on sockets and pins rather than trying to thread bolts through congested joins. This is one of those design details that makes a real difference on the day of the build.
Work methodically and keep your assembly plan to hand. The colour-coded layout makes the sequence clear, and following it in order avoids the need to backtrack.
Step 5: Install Overhead Braces
Once your main panel run is in place, fit the three gate-to-panel overhead braces. These are critical for structural rigidity and shouldn't be treated as optional.
Check that each brace is level before you lock it off. An unlevel brace puts an uneven load on the gate connections and can cause gates to swing unevenly over time. A spirit level takes thirty seconds to confirm you're right.
The overhead braces, combined with the ground spikes installed in the next step, are what transform a collection of modular panels into a genuinely stable structure. Each element reinforces the other.
Step 6: Drive the Ground Spikes
The 500mm ribbed rebar ground spikes are what lock the yard into the ground. They're threaded through purpose-built points on the panels and driven into your prepared pad.
At $9 each, these are not the place to cut corners. For any yard larger than 12 head, or for any situation where you're likely to encounter rowdy cattle, the recommendation is two spikes per panel or gate. That's a small investment for the stability it provides.
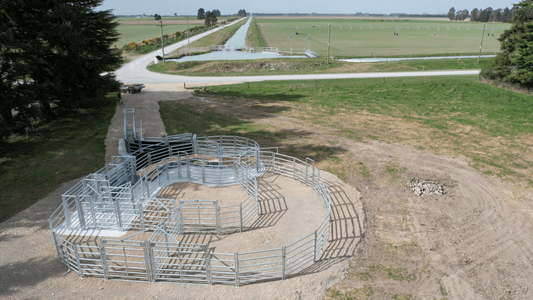
If you've properly prepared your rock pad beforehand, the spikes drive in cleanly and the yard settles into a solid, connected structure. Yards have been stability-tested on unconcreted rock pads using this system, and the results hold up well.
Step 7: Fit Anti-Rattle Clamps and Check Your Work
The final step before you call the build done is fitting the anti-rattle clamps throughout the yard. You'll need a rattle gun here. The clamps eliminate the noise and movement that comes from panels shifting under cattle pressure, and they make a noticeable difference to how settled cattle are in the yard.
Noise spook stock. A quiet, solid yard is a safer working environment for both your cattle and you.
With clamps in place, do a final walk-through of the whole structure. Check that slam latches are operating cleanly on all gates. Confirm that the dome-side bolts are facing the cattle side throughout, providing a smooth surface on the animal-contact side. Check that the sliding gate auxiliary handle is clear and won't create an inward obstruction. And test the walk-through head bail, which uses a ratchet locking mechanism and is designed to accommodate oral drenching and ear tagging without requiring the handler to reach over the animal.
A Few Things Worth Knowing Before You Build
On strength: Rail profile depth is what gives the MAXXUS its structural strength, not just the gauge of the steel. The 47mm deep cattle rail resists the lateral pressure cattle apply, and it does so 15% better than most alternatives. Depth handles that load in a way that raw thickness doesn't.
On rail spacing: Seven rails at 1.8m height make this yard genuinely versatile. Cattle, calves, and sheep can all be worked through the same structure, which is practical for lifestyle blocks running mixed livestock.
On the head bail: The walk-through design means you can work an animal for drenching or ear tagging and then release them forward rather than backing them out. For solo operators or small teams, that's a significant time saver.
On the catwalk: The 800mm wide catwalk gives handlers safe access to the race at 1.5m internal height. If you're working cattle regularly, this is one of those features you'll appreciate every single time.
What You'll Need on the Day
Tools required for the full build: a spirit level, a rattle gun for the anti-rattle clamps, measuring tapes (two of them for the triangulation step), and dazzle spray for marking your foundation points. Two people for the loading ramp. The rest of the build can be managed by one or two people working methodically.
Build It Once, Build It Right
A well-built MAXXUS yard on a properly prepared pad should give you years of reliable service without needing constant adjustment or maintenance. The galvanising protects against corrosion, the ground spikes hold the structure firm, and the panel design means that if you ever want to reconfigure or expand, you're working with a system that's built to accommodate it.
If you've got questions before you start, or you want to talk through your site and what configuration makes sense for your setup, flick us a message. There's always a Kiwi on the other end who knows these yards inside out.